How to Bind a Main Lesson Book
|
This
page is devoted to showing you how to bind together those spiral bound
main lesson books typical of a Waldorf Classsroom into a beautiful
single volume, using some simple-ish techniques gleaned from real book
binders. The steps on this page include:
|
If you found this page helpful please consider making a tax deductible donation to help maintain this website and also fund our 8th Grade Trip in the spring of 2016.
|
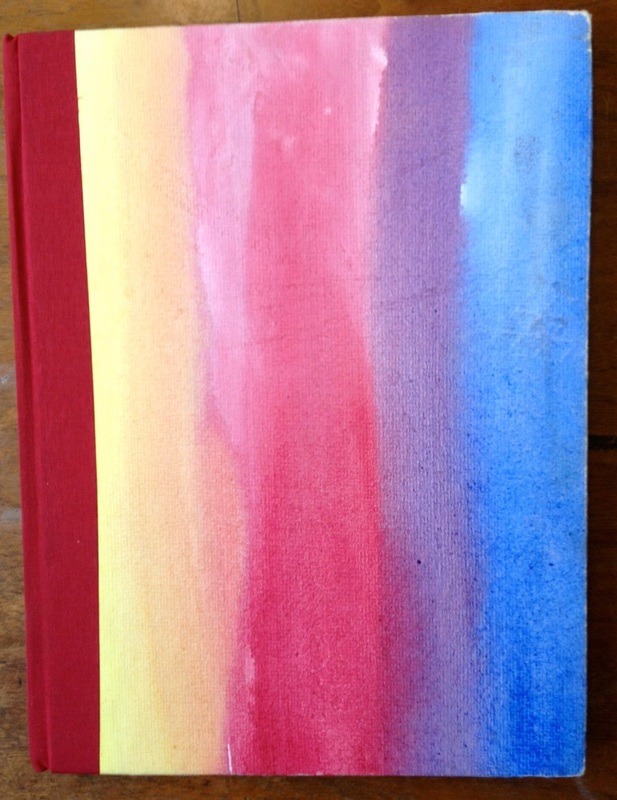
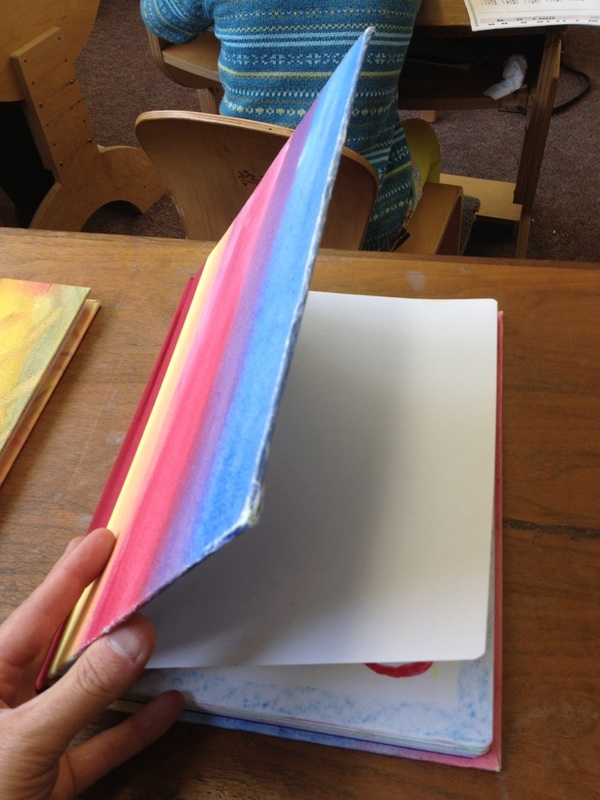
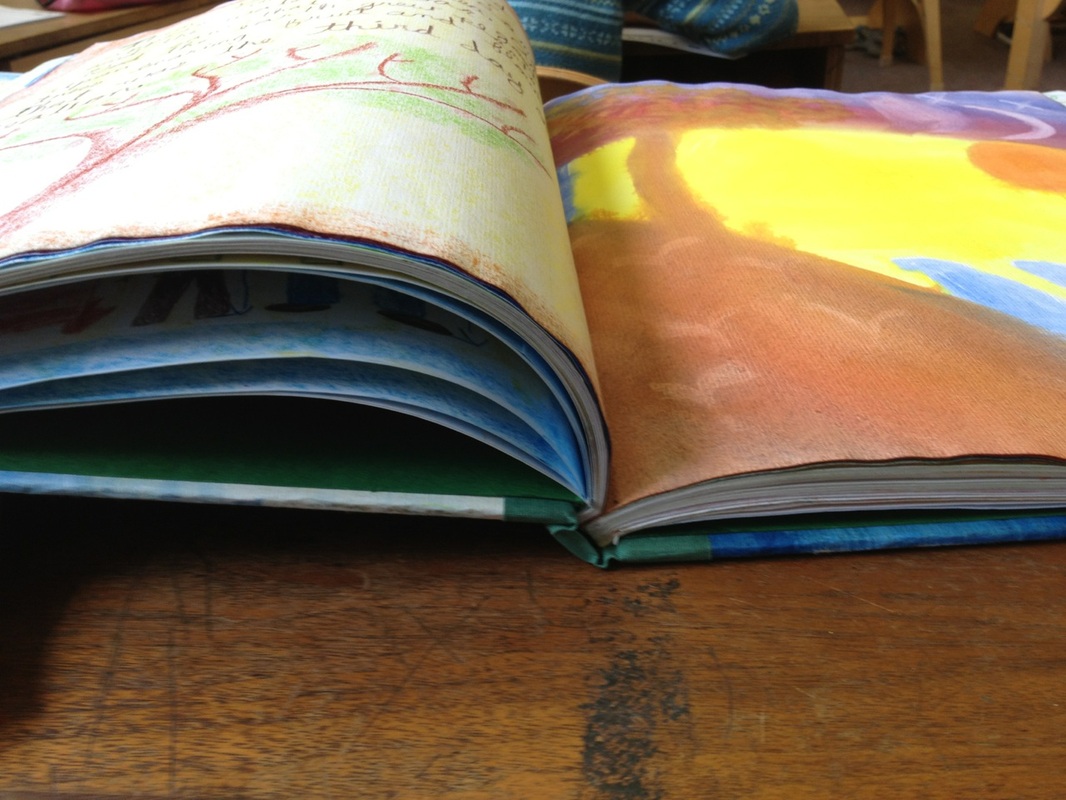
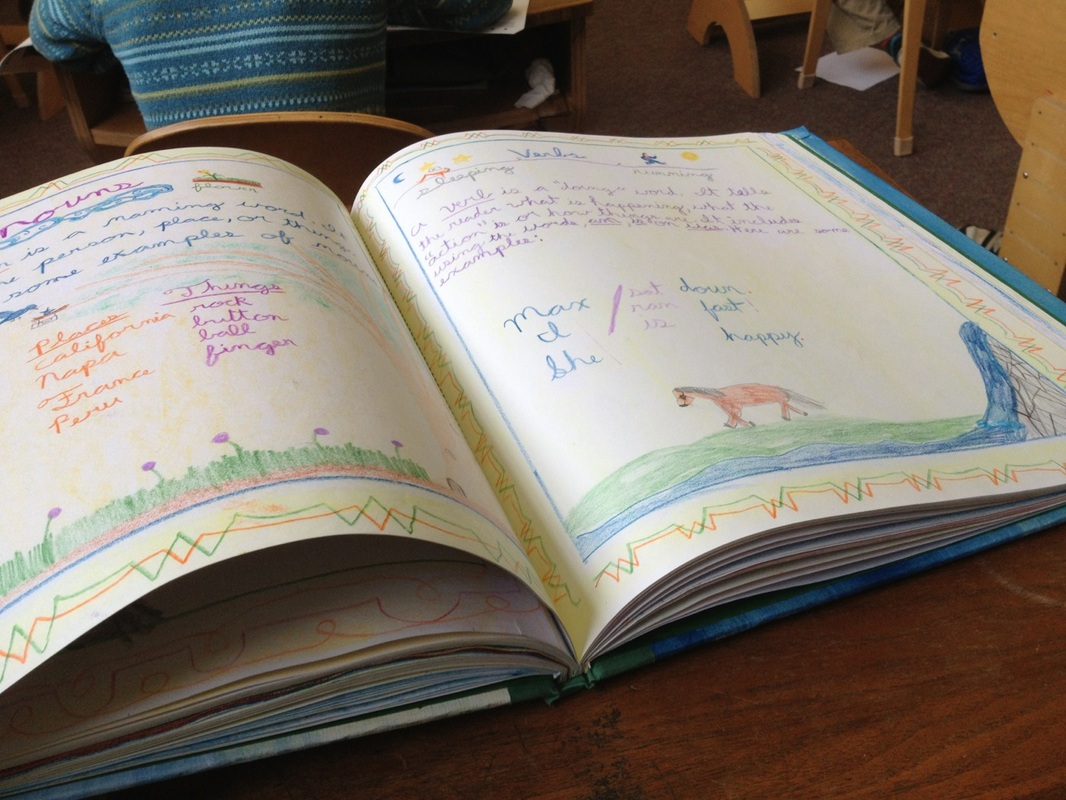
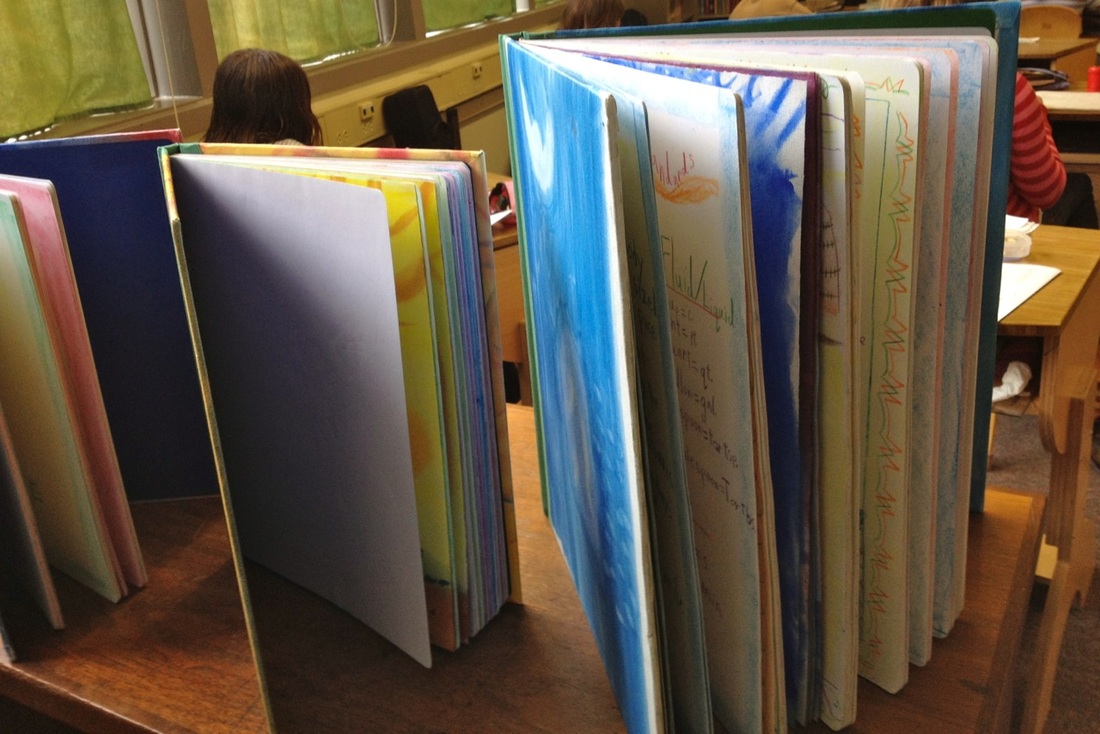
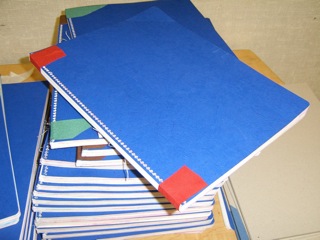
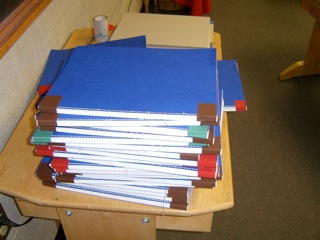
Pictures of Finished Main Lesson Book Collections. Click on image to view larger...


Is this Site Helpful?
For years I have wanted to share this bookbinding method with Waldorf teachers outside of my own school. Finally, I think I have found a way to actually do it! Hopefully adventurous Waldorf teachers and homeschoolers everywhere will find it as worthwhile a project as I have found it to be. Thank you, Molly McKissick, from the Ashland Waldorf School, for the beginning inspiration for this project!
This information will remain free to anyone who wants it. However, if you find this site helpful, please consider clicking on the "donate" button and making a tax deductible donation to the students of this class (whose beautiful work fill this website). 100% of the donations submitted through our class website will go directly to the children of this class in order to fund their 8th Grade Trip in the spring of 2016.
Donations handled through Paypal.
Supplies:
1) Main Lesson Books
I always use the Mercurius "spiral bound" main lesson books. I also prefer the books with the filter pages (onion skins) so that the students' drawings do not get rubbed into one another when the children turn the page and work on the back side. The spiral bound books are essential if you want an easy time binding them later on. When you are ready to remove the spines, all you have to do is clip off one end of the wire and spin the metal spines off of the book. It's quite easy. Then you can use the holes left behind as your guide for sewing things together with the waxed dental floss. I have bound large-sized books (32x38cm/12.6x14.96 inch - spiral binding) and the smaller ones (24x32cm/ 9.54x12.6 inch - with onion skin - spiral binding). The process is the same, regardless of the size you choose. Link to order the Smaller Sized Book: (Click here) http://www.mercurius-usa.com/ Link to order the Larger Sized Book : (Click here) http://www.mercurius-usa.com 2) Bookboards First you need cardboard "bookboards" for the covers. This is the cardboard that you glue the paintings onto for a beautiful and strong cover. You can cut your own out of any hard cardboard scrap, or you can buy book board online that is designed for this very purpose. You can purchase bookboards at the following site: http://search.paper-source.com/index/_/N-/Ntt-bookboard The larger sized (13 x 19) boards available at this site can be easily trimmed to fit the larger main lesson books typically used in the earlier grades of a Waldorf classroom. The smaller sizes boards (9.5 x 13) fit the smaller “upper class” books without needing to be trimmed at all, which is wonderful! We purchase two boards per a book, plus five-6 extra’s to cut for the spines. 3) Bookbinding Tape We love to use the linen tape available online. The color choices are limited, but the quality is wonderful and it is very, very strong. You can purchase tape here: http://www.paperstudio.com It is not cheap, but I love the linen tape. I wish there were more color choices, however. If you happen to find another source then please do pass it along! How much do you need? Each book needs about 15 -16 inches. I have 30 students, so two rolls of the 3” wide, 10 meter long tape worked. If you decide to do something fancy and retro like use tape for the corners too (I did that one year and it looked really great— but it was not very easy), then I you will need more tape, so get a third roll. 4) Spacers (For Step 7 of creating the book cover. Spacers: You will need small little taps of cardboard to use as spacers when you attach the book binding tape to the book board. The taps should be 7/16" wide, and tall enough to handle comfortably. I use scraps left over from the creation of the spines. 
Gummed Bookbinding Tape, 7/16 inch cardboard spacers, Waxed Dental Floss, Spins cut to the thickness of the book block, large sewing needle, binder clip.
C: Steps to Gluing the Book Block to the Book Board:Steps to gluing the book block to the book board...
1. Insert paper of some kind between the covers and book block to protect against rubber cement stains. 2. Use a foam brush to paint glue into both the board and the cover (blue in this picture). 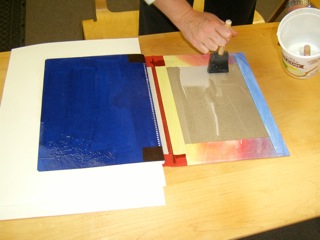
Remember to
absolutely NOT pour the glue!
3. Center the block on the spine and press it together. Make sure that the edge of the board hinges directly on top of the holes/seam. This is very important to get right. 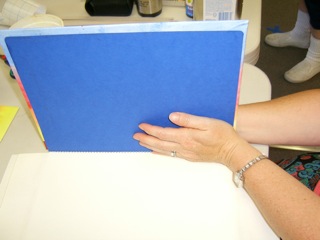
Press it together
and flip it over the other side.
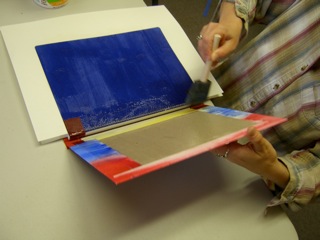
More glueing...
and pressing. Don't forget that protective paper between the cover the
top page of the block!
4. If you are sure everything went well. You have checked to make sure the book is hinged on the seam... You have made sure that the book block is centered on the spine... then stack and press, using painting boards between each book. The following picture shows the boards stacked on top of each other, with main lesson books pressed in between. The chairs add weight to the top (and also look cool!). 
5. Check the books in
the morning to make sure they are done. You may need to cram glue in some
of them to finish things. No worries here as rubber cement is forgiving.
If some of the books slipped during the stacking/drying process and things look terrible, or the book simply cannot open because things slid out of place while drying, pull everything carefully apart and re-glue. This is the beauty of using stinky rubber cement!!!! Hope this all helps. Let me know how it goes! Justin |
How to do it...
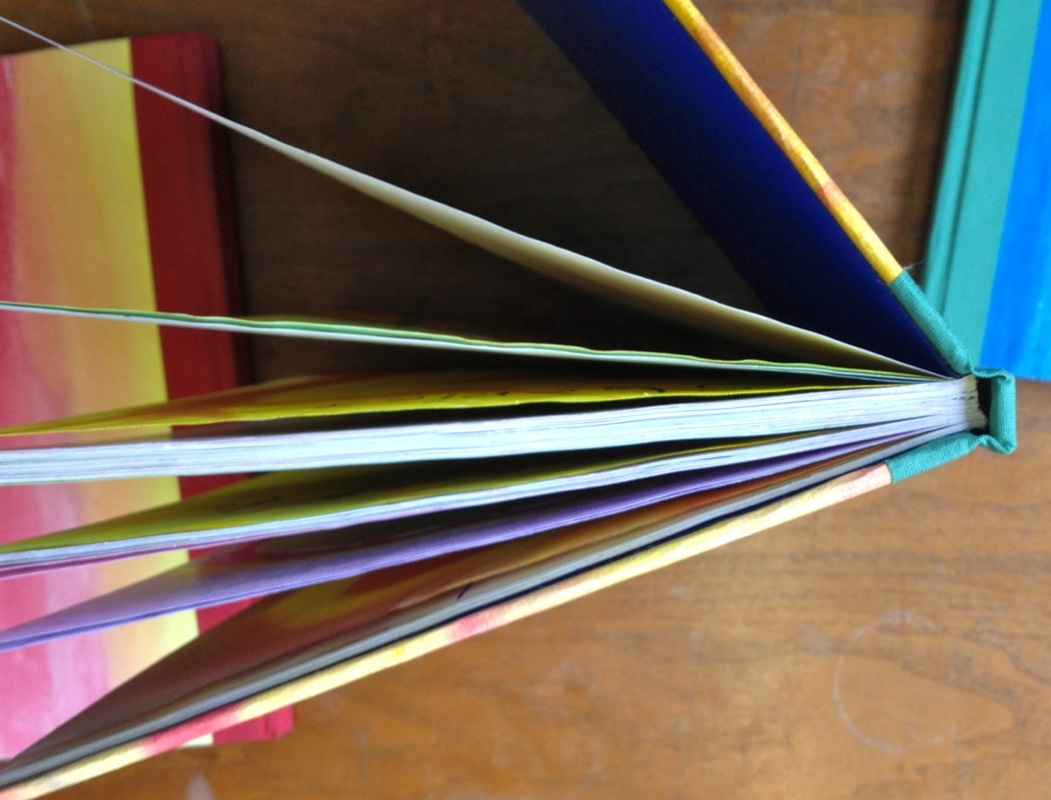
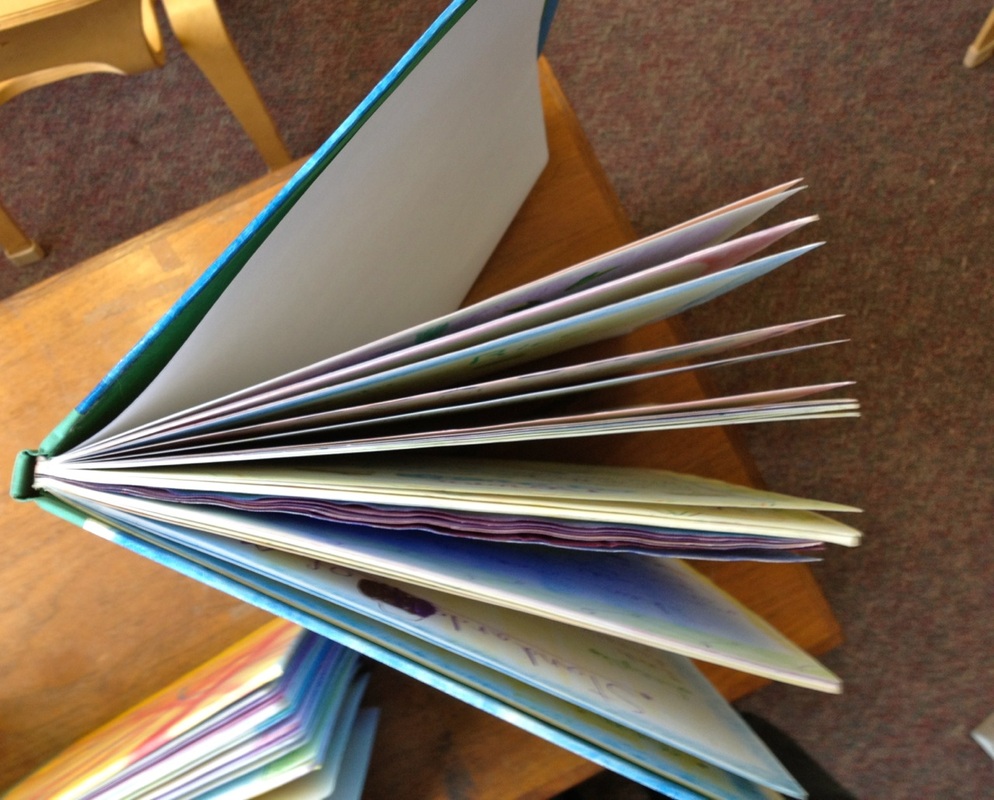
A: Sewing together the "Book Block":Following these directions helps you to create the "book block", which is the name for the piles and piles of finished pages that are organized into a particular order, sewn together with thread (we prefer waxed dental floss, actually) into a "block" and glued to a cover later on (Step C).

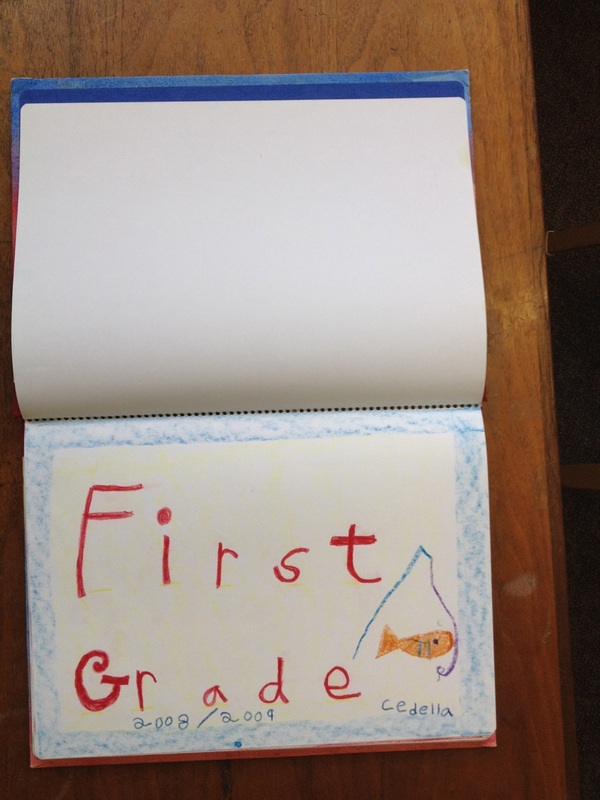
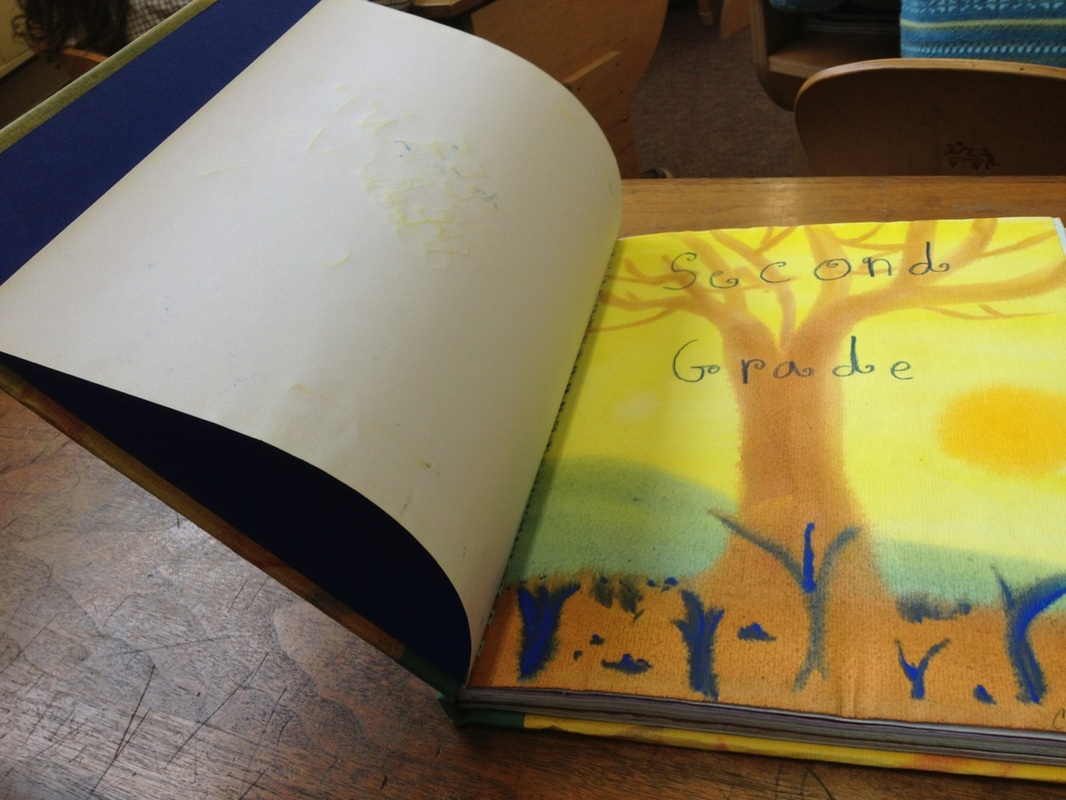
4. Stack all the pages and sections in the order you want and include a Title Page, Contents page and/or any other things you feel are necessary. 5. Add one blank page at the start and end of the book, for beauty and protection. (I sometimes add a second one just in case.) 6. Add a clean well-cared for cover on the top and the bottom (usually the same color, and one that looks good with the binding tape color). 7. Line up the holes and clip it all together with binder clips. 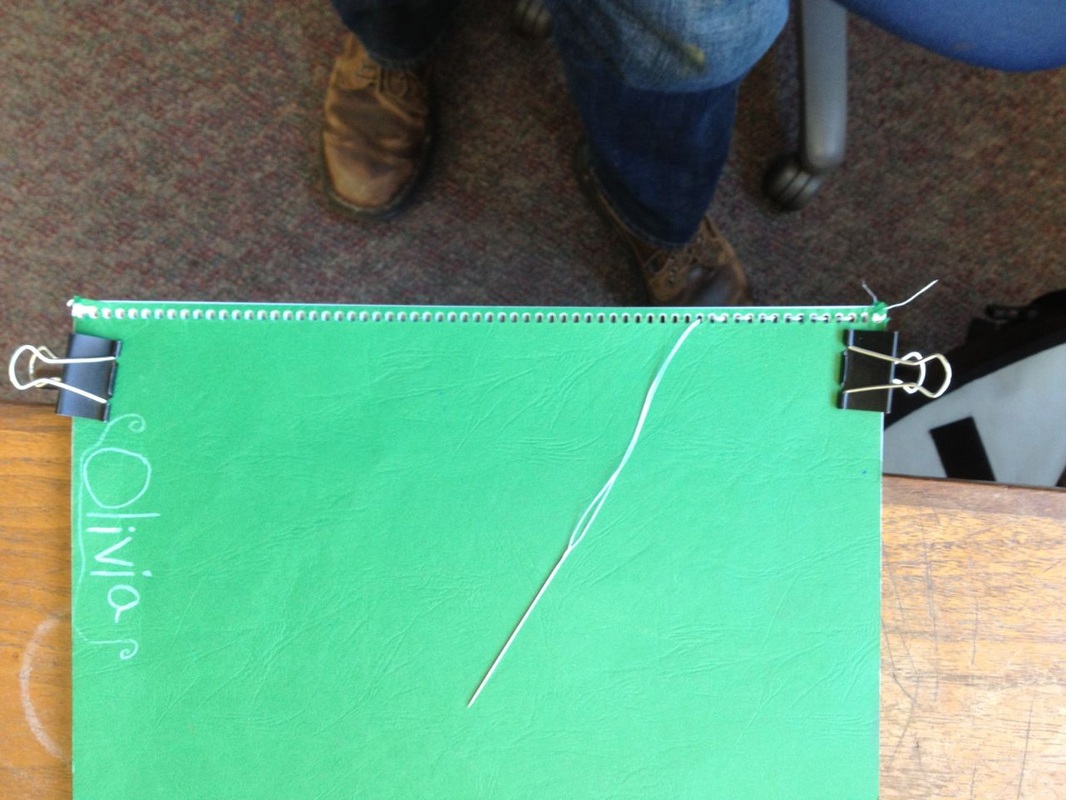
8. Use needles and lots of dental floss and sew the pile of paper (book block) together tightly, starting at one end of the spine and moving up one hole and down the next in a running stitch, all the way to the end of the spine and then back. If you run out of dental floss in the middle, tie it off, re-thread the needle with more, and then keep on going. Don't be afraid to pull tightly! Dental floss is quite strong and will not break, and the wax will help it to stick to the paper and not loosen as you stitch along. 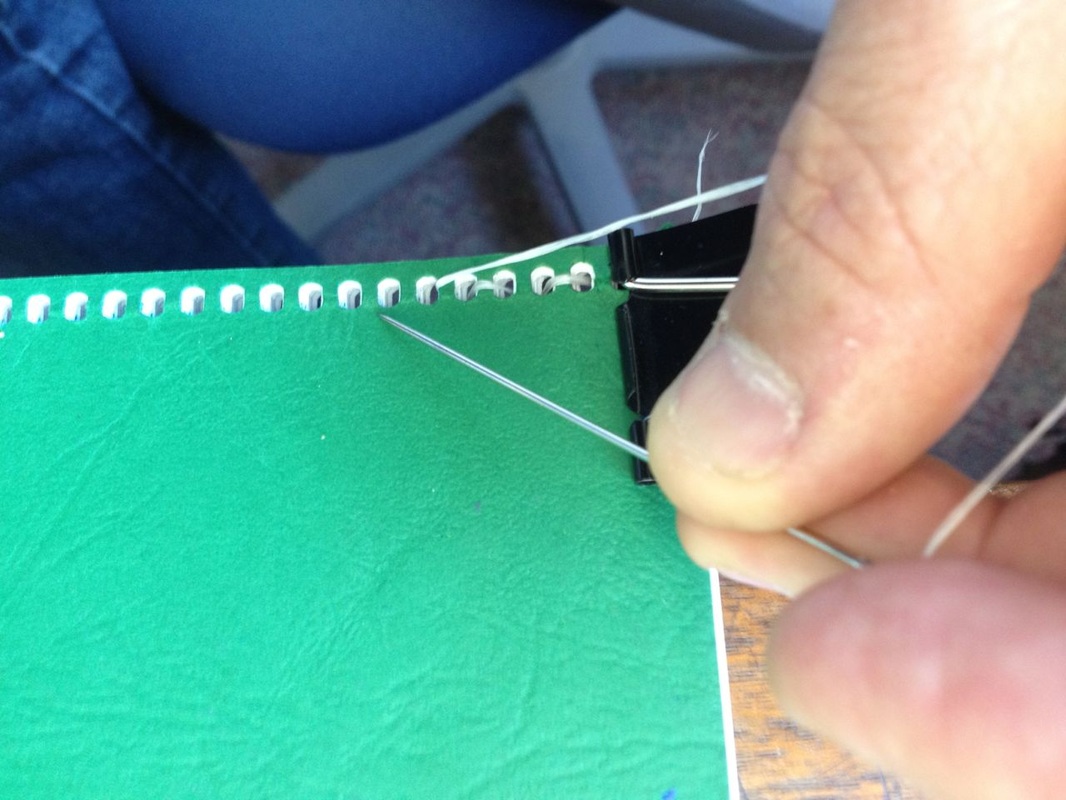  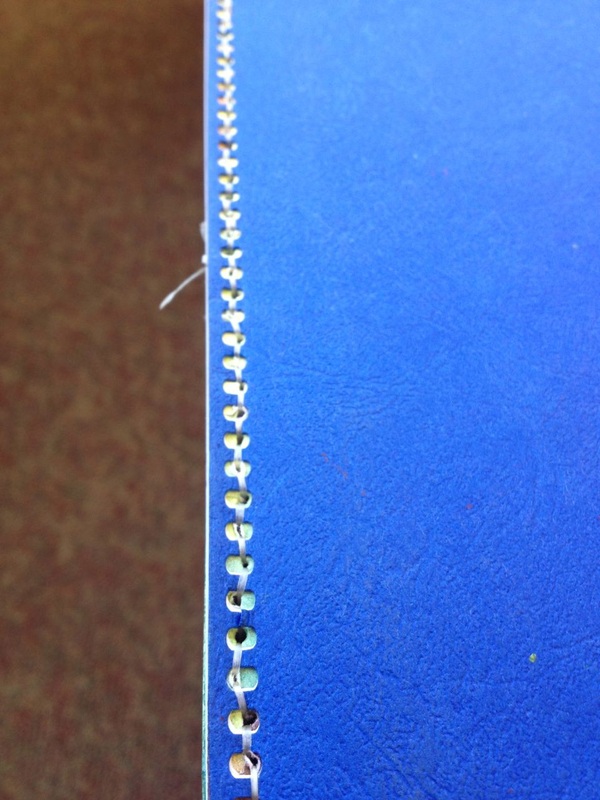 9. Finish off the block by attaching a small piece of linen cloth
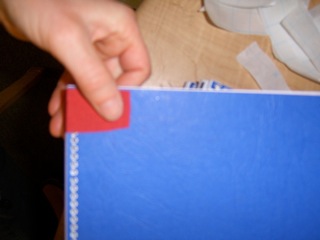
tape at each end of the binding to help reinforce/protect the hinge.
   B: Steps for Creating the Book Cover:1.
Have each student paint two
paintings and let them dry.
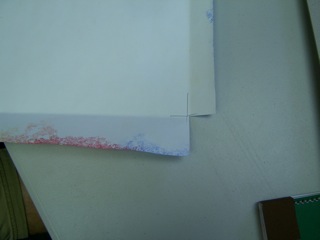
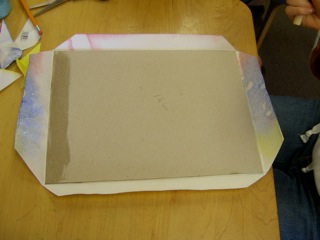
2. Lay the bookboard in the middle of the painting and fold/crease the edge over it so that you know where the corners are going to end up. 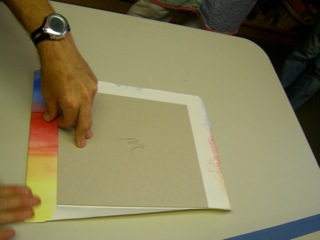
The book board is glued on the back of the painting.
3. Mark the corners and cut out a piece so that they can be easily folded and glued. 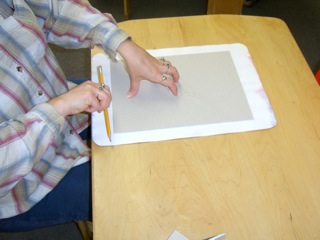
4. Glue the book board
to the paper. Make sure each edge
is well attached to the board. Applying glue to each of the sides (paper
and board) will make the bond stronger.
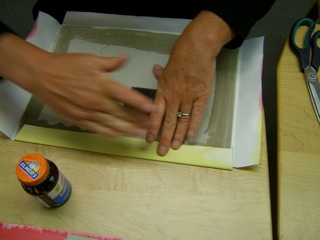
Keep at it.
It takes some time. It can be
messy and stinky, but I like the rubber cement because it is forgiving when
mistakes are made and things need to be pulled apart and started over.

Press it down and work around the board. When things get sort of dry I usually stack these boards under some dictionaries to press them flat while they dry.
Eventually it
works! Really, it does.
4. Cut the spines of the book out of an extra piece of book board using a zacto knife, scissors or very large paper cutter. The spines should be the same width as the thickness of the finished book block. Set the book block on it's spine edge and draw a line to mark the width, then cut. 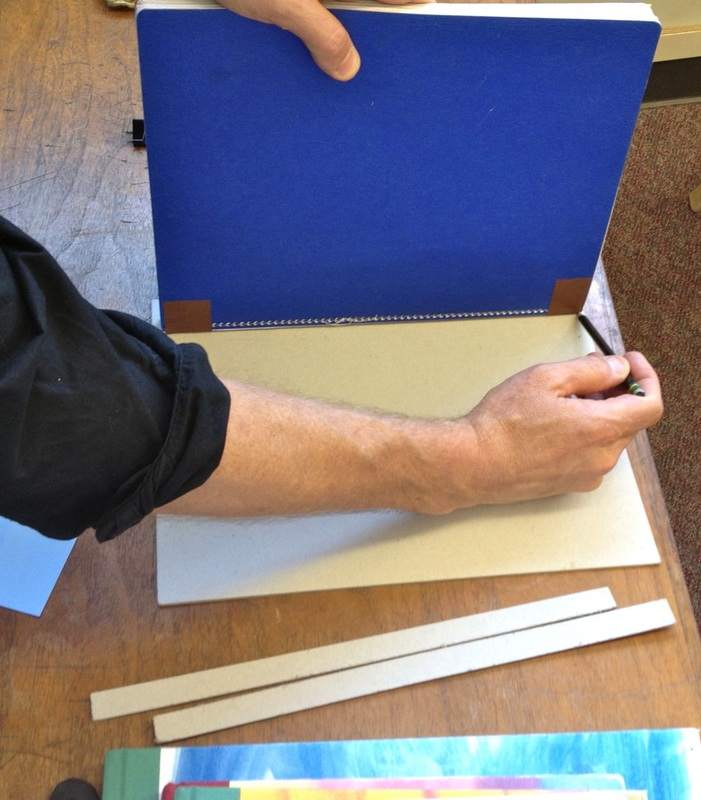 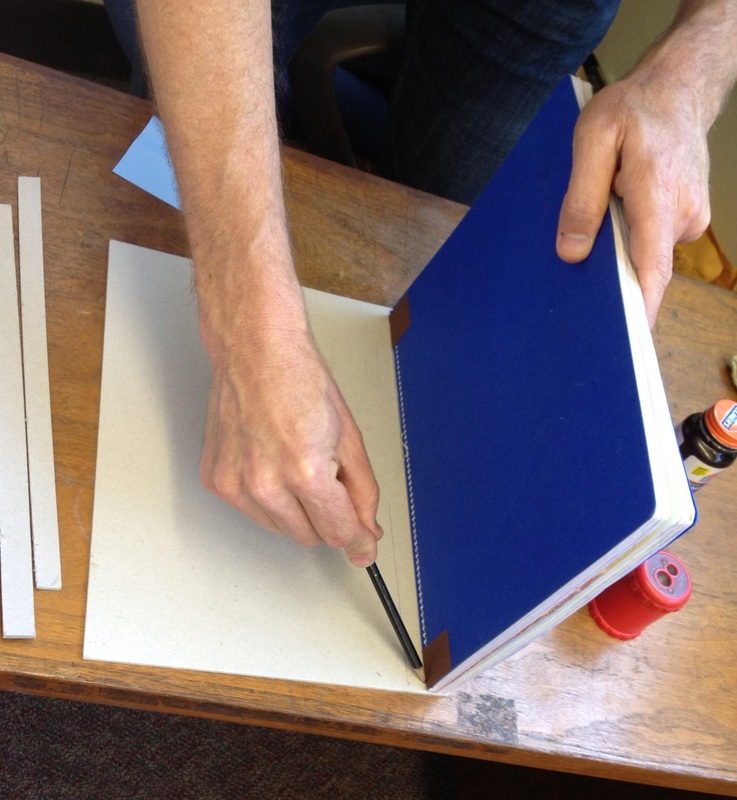 5. Measure and cut the
tape so that it fits the height of the book, with about 1-2" of extra to
fold over the top into the inside part of the cover
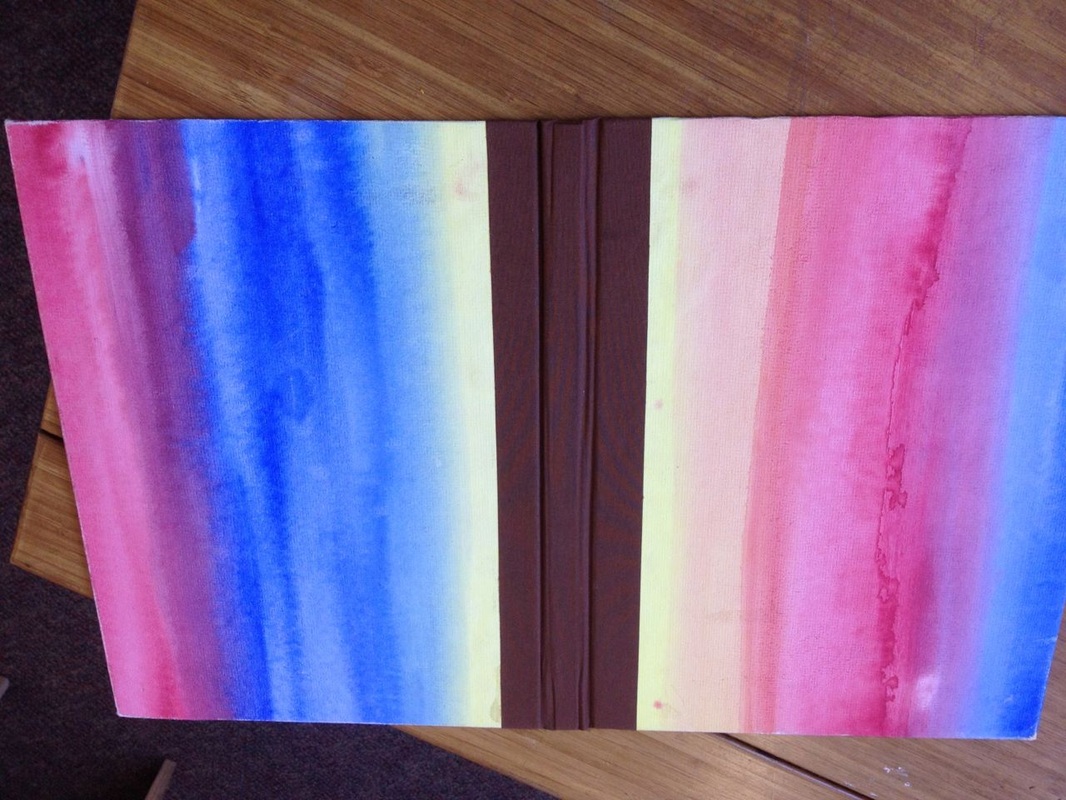
6. Carefully place the spine in the middle of the binding tape. 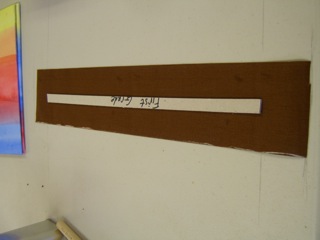
7. Set the 7/16" spacers up
at the top and bottom of the spine and but each side of the finished book board
into it.
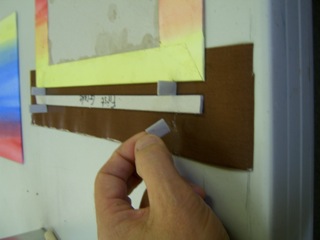 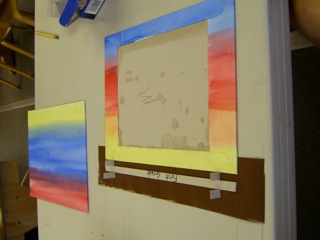 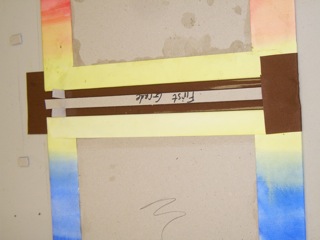 8. Turn it over and press the adhesive into the spine and book board. 
You're now
ready for Step C. Congratulations!
  |